The Milky Way: A Guide to the Dreamy World of Milky Nails
Look down at your fingertips. Imagine them dipped not in bold color, but in a soft, ethereal haze—like a whisper of milk diffused in water, or the gentle glow of morning mist on a pearl. This is the essence of Milky Nails, the manicure trend that has taken the globe by storm, trading high-drama for serene, understated elegance.
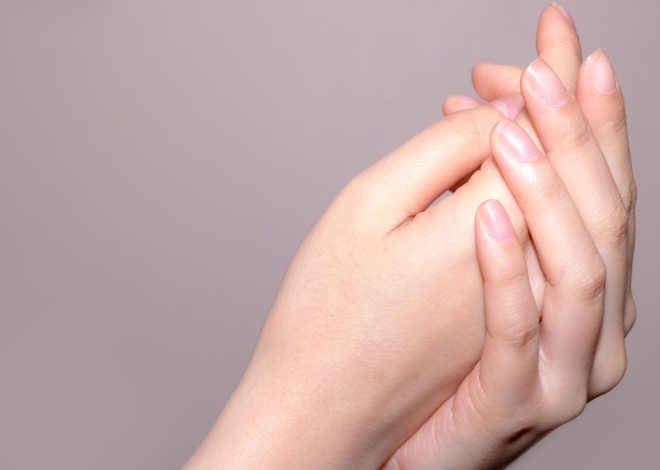
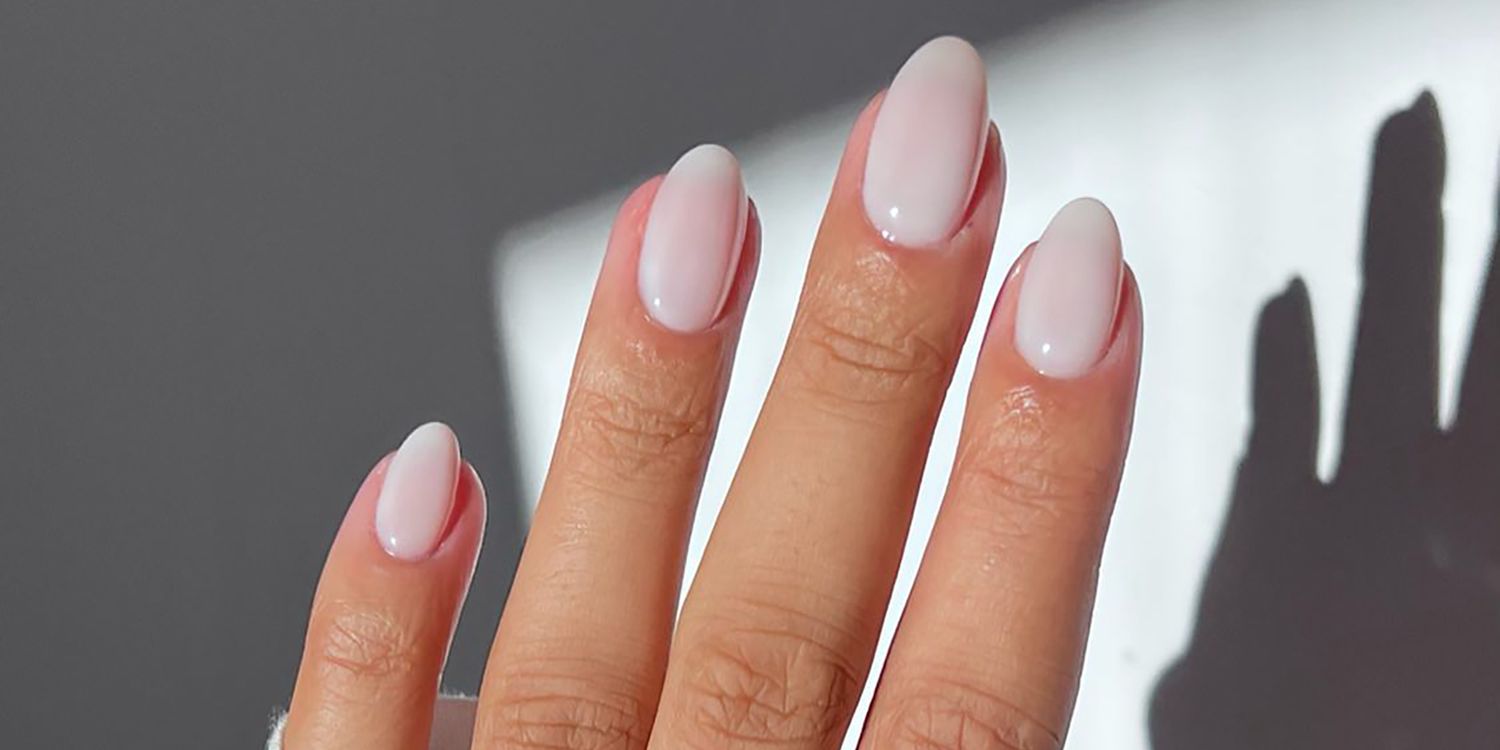
So, what exactly are Milky Nails? At its core, it’s a technique and aesthetic that creates a soft, semi-opaque, off-white finish on the nails. It’s not stark white, nor is it fully sheer. Think of it as the perfect middle ground: a creamy, blurred wash of color that mimics the look of real nails at their most luminous and healthy, yet better. The result is clean, polished, and possesses a quiet, sophisticated depth.
Why has this particular look become a universal favorite? The reasons are as layered as the manicure itself. Firstly, in a world often saturated with visual noise, Milky Nails offer a retreat into calm. They are minimalist yet impactful, aligning perfectly with the enduring “clean girl” aesthetic and a broader desire for wellness and subtlety. Secondly, they are incredibly versatile and flattering. The soft, warm undertone complements every skin tone, from the fairest to the deepest, acting as a neutral that goes with absolutely everything in your wardrobe. Thirdly, they are practical. The milky finish is forgiving, gracefully blending with the nail’s natural line of growth, meaning regrowth is far less noticeable than with solid colors. It’s the ideal blend of beauty and low-maintenance.
Creating the perfect Milky Manicure is an exercise in building delicate layers. Here’s what you’ll need and how to do it:
1. Base Coat: Always start with a clear base coat to protect your natural nail and ensure adhesion.
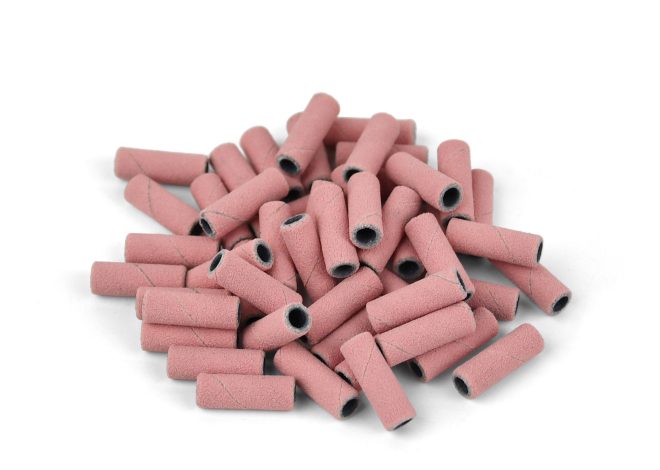
2. The Star Player: Milky Nail Polish. This is not simply a white polish diluted with top coat. Specific “milky” or “jelly” polishes are formulated for this look. They have a gel-like, buildable transparency. For a DIY approach, you can carefully mix a drop of opaque white polish into a clear or sheer pink “jelly” polish until you achieve the desired consistency.
3. Application Technique: The secret lies in thin, even layers. Apply your first coat of the milky polish. It will look streaky and uneven—this is normal. Let it dry completely. Apply a second, and often a third, thin coat. Each layer intensifies the creamy opacity while maintaining that soft, diffused quality. Patience between coats is key to preventing smudges and achieving a smooth finish.
4. Top Coat: Seal your masterpiece with a high-shine top coat. This amplifies the pearl-like luminosity and provides a glassy, durable finish that makes the milky color truly pop.
The beauty of the Milky Nail trend is its capacity to serve as a flawless canvas for endless inspiration. While stunning on its own, it also pairs beautifully with:
- The Classic French: Reimagine the French manicure with a milky base instead of a clear or nude one. The white tips pop with a softer, more modern contrast.
- Delicate Embellishments: Add a single tiny pearl, a minimalist chrome stripe, or a fine line of gold foil on one accent nail. The milky base makes these details shine without overwhelming.
- Negative Space: Combine milky polish with bare nail in geometric patterns (like half-moons at the cuticle) for a contemporary art-gallery feel.
- Milky Ombré: Graduate the intensity of the milky color from tip to cuticle, or blend it with another soft shade like lavender or sky blue for a dreamy gradient effect.
- Matte Finish: After your top coat dries, apply a matte top coat. This transforms the look into a soft, velvety, chalk-like finish that is equally chic.
In the end, Milky Nails are more than just a color; they are a feeling. They speak of quiet confidence, nurtured self-care, and a refined taste for beauty that doesn’t shout but gently glows. It’s a trend that reminds us that sometimes, the most powerful statement is made with a whisper—a whisper that, in this case, looks exquisite on your fingertips.